Camping food often gets a bad rap. That’s why I was offended when my boyfriend coined my cooking style early on in our relationship “like camping.” He meant I re-use ingredients to maximize flavors and minimize waste but my first thoughts were of hungry people eating mac and cheese with canned tuna or hydrated meals from bags.
IT DOESN’T HAVE TO BE THAT WAY.
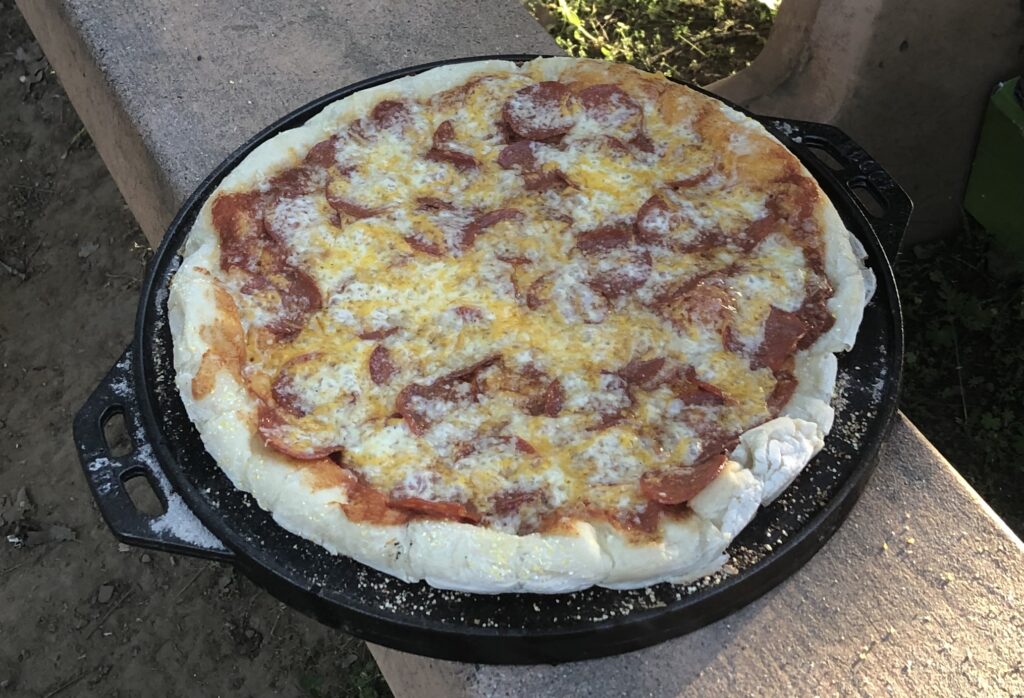
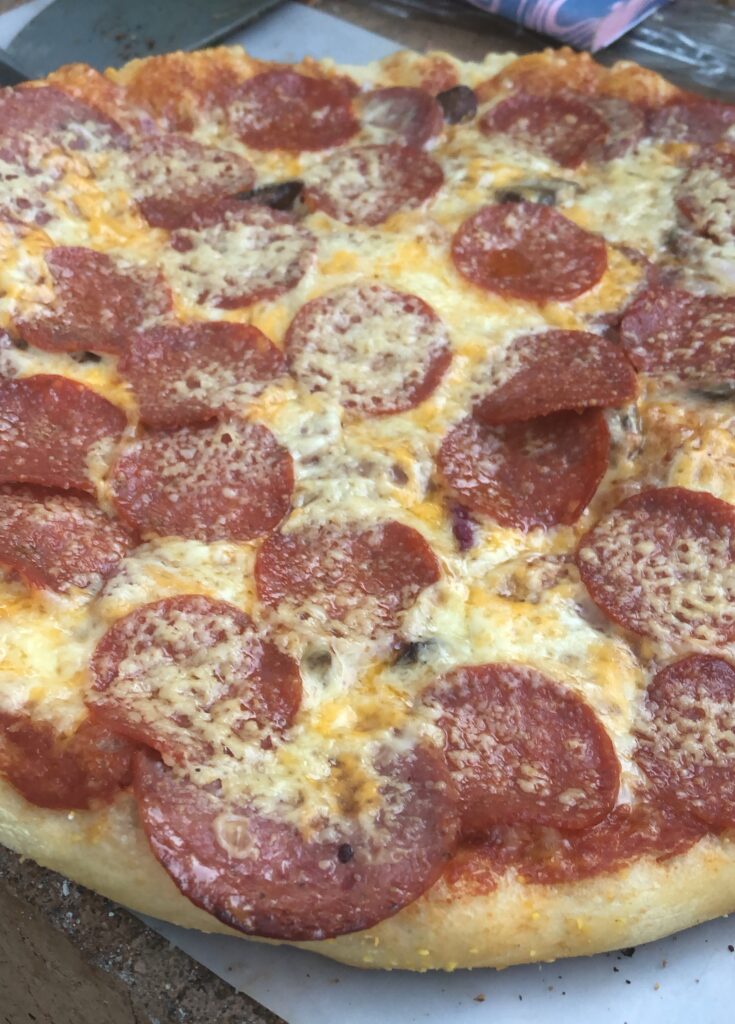
This Memorial Day I used Lodge’s Cast Iron Cook-it-All to throw a pizza party in the woods. Over the span of two hours, I cooked 6 separate pizzas with perfectly crisp crusts with the pizza oven configuration including cheese, pepperoni, meat lovers, pesto, pesto-roni, and honey-chili pies.
Seriously, this is the same level quality you would get from a restaurant with a proper pizza oven!!
WHAT WILL YOU NEED?
- Store-bought pizza dough
- Store-bought pizza sauces
- Pizza cheese blend
- Parmesan
- Toppings (Pepperoni, Chopped Vegetables, Honey, Chili Flakes)
- Flour
- Cornmeal
- 3 cutting boards (one dedicated for slicing cooked pizzas)
Prepping the pizza ingredients at home is an essential step so I mixed my finely chopped mushrooms, peppers, and onions into a single ziplock the night before. I also transferred the pepperoni into a better sealed, smaller bag to prevent spoilage. Lastly, I measured out a cup of flour and cornmeal into separate bags so that I wouldn’t have to worry about the flour making a mess in my camping kitchen supplies.

Once the wood and charcoal fire is going, start to prep the dough. I recommend you cook the pizzas within the first 24 hours to keep the dough cold and prevent it from rising. Pull two doughs out 15-20 minutes before you plan on stretching them (less if they’re already warm). Use flour to help coax the dough ball out of the bag onto a cornmeal dusted cutting board.
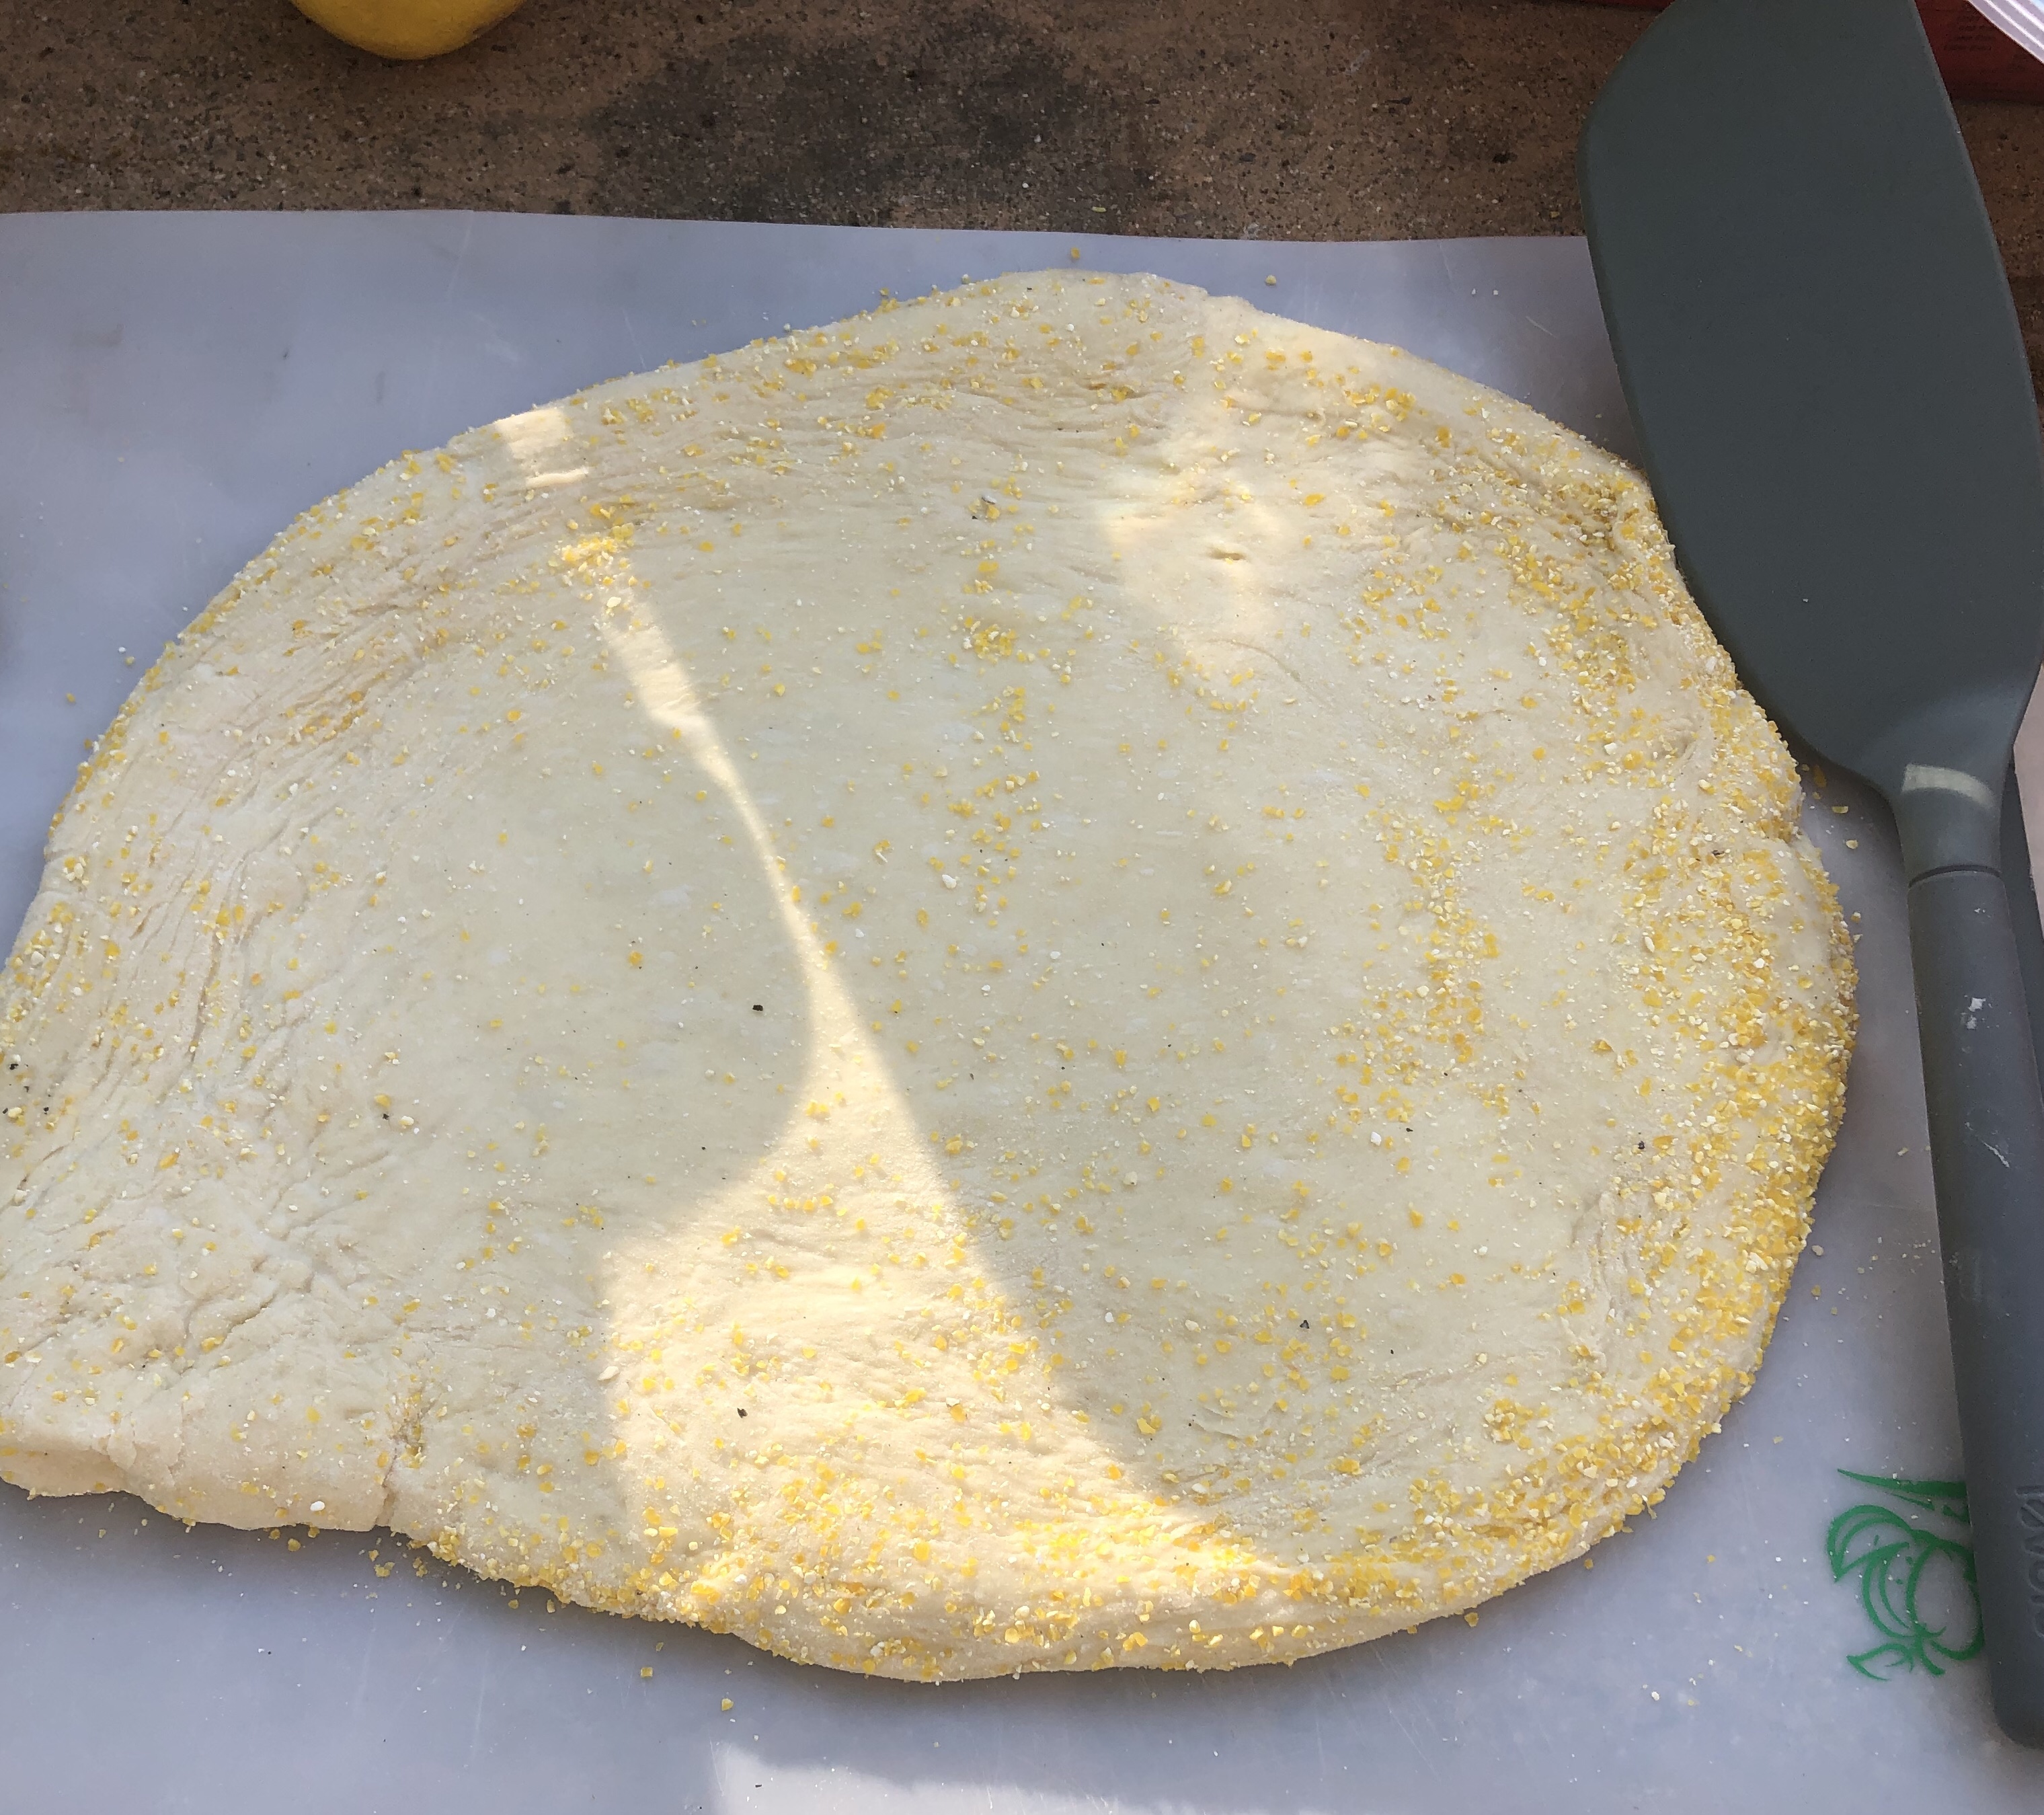
Stretch the dough out on the tops of your knuckles in a circular direction until it’s roughly the size of the cutting board. Let the dough rest on more cornmeal and place a wet paper towel on the top while you set up the cast iron and/or stretch out the second dough onto a second cutting board.
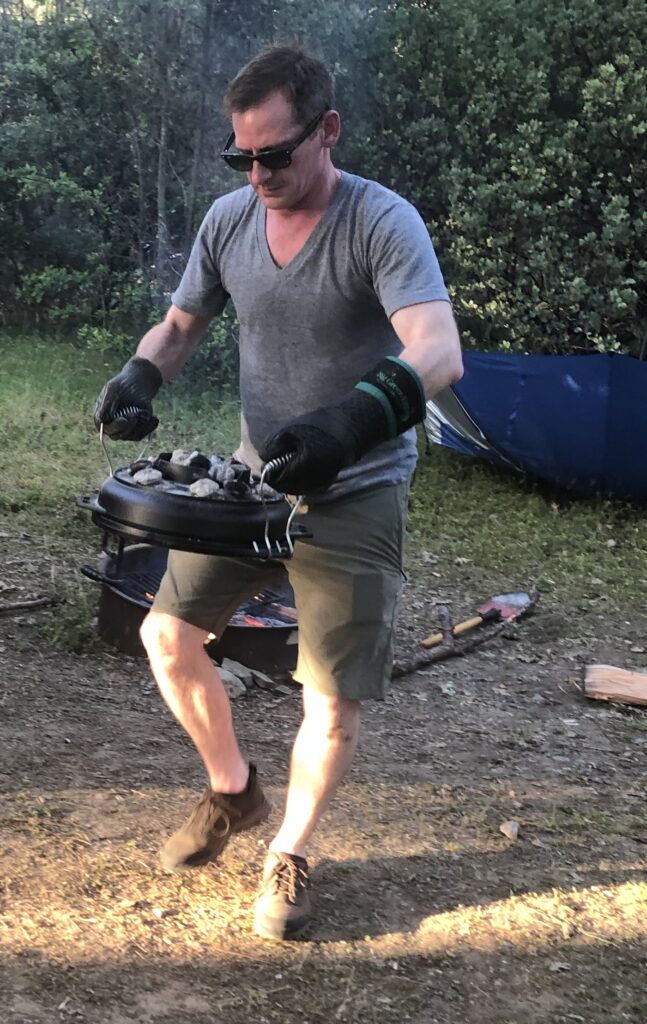
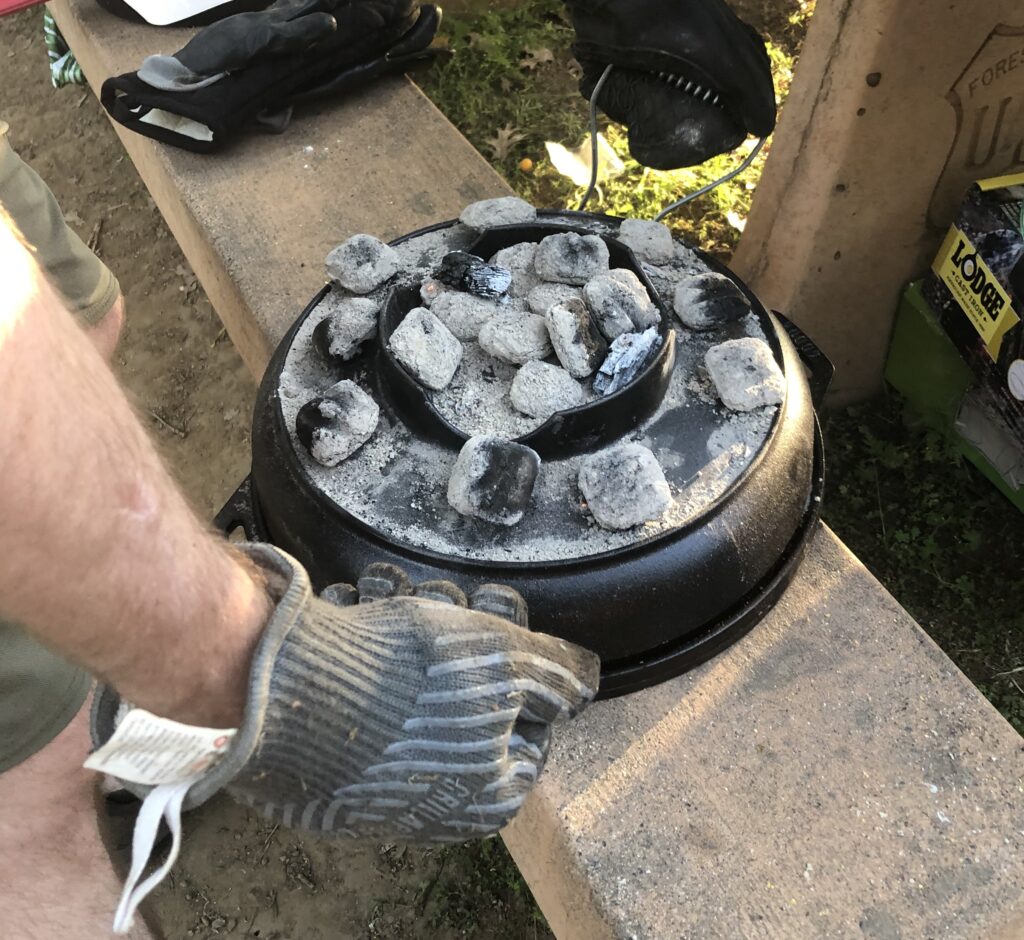
Place the Cook-It-All with the flat circle smooth side up over the fire and heat the cast iron pieces up for at least 10 minutes before cooking the first pizza. Top the lid with coals. The more time you wait between pizzas means crispier crusts but this can be compensated for with longer cooking times on later pizzas.

Once the pan is hot, clear off multiple safe areas to place the extremely hot components when they aren’t on the fire and gather silicon oven mitts. Move the lid and base to a safe area (I used a picnic bench and a charcoal grill station) and quickly plate the pizza dough onto the base along with its toppings. Use this opportunity to learn how big your next doughs should be but be careful not to burn your hands while you stretch it to about one inch inside the base lip.
Drop the oven top back on the base and wait 8 minutes for it to cook. Use the provided handles to move the Cook-It All to your heat-safe serving area and remove the oven lid. Prepare for awe and wonder as the steam escapes and your pizza emerges. Transfer to a non-flour coated cutting board ASAP, wait 1-2 minutes before slicing, and enjoy!
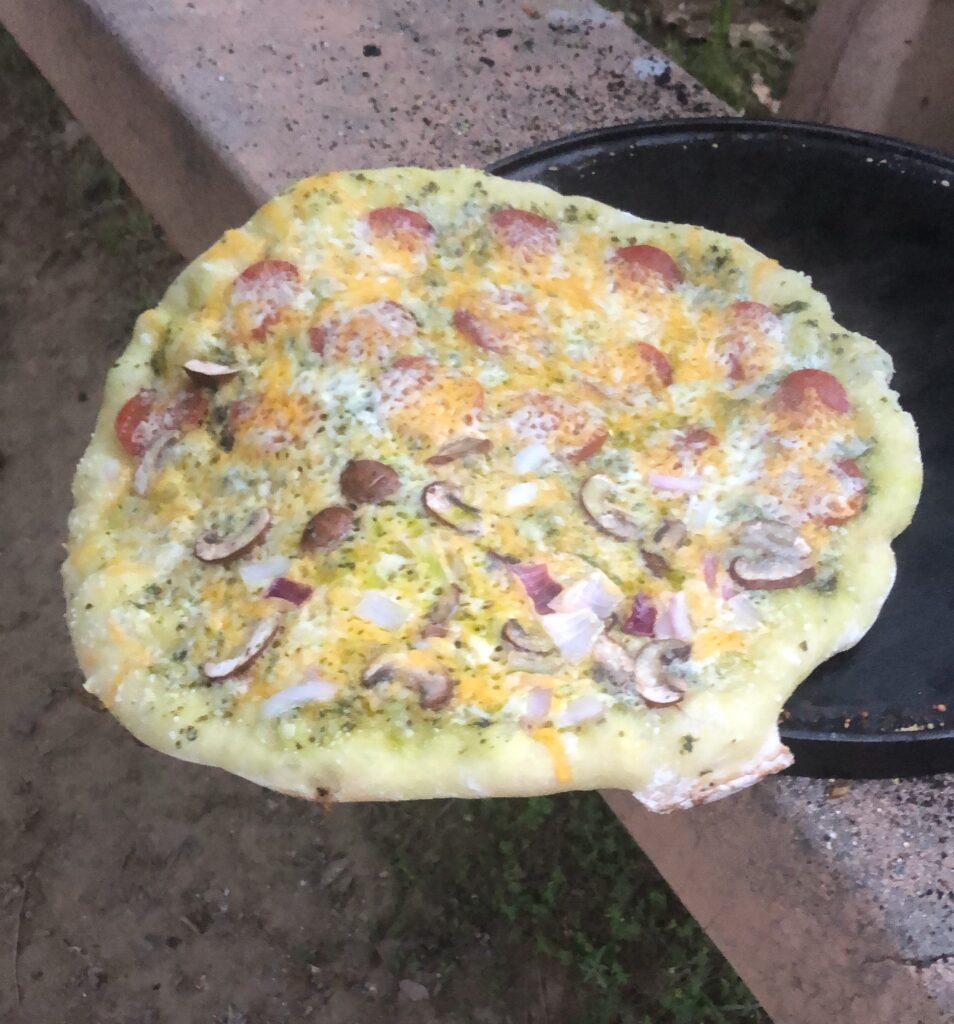
Pesto can be tricky as it causes the pizza to stick to the roof of the oven:


That looks so yummy!!! What a great idea for camping too!
Love this article and your camping style cooking!