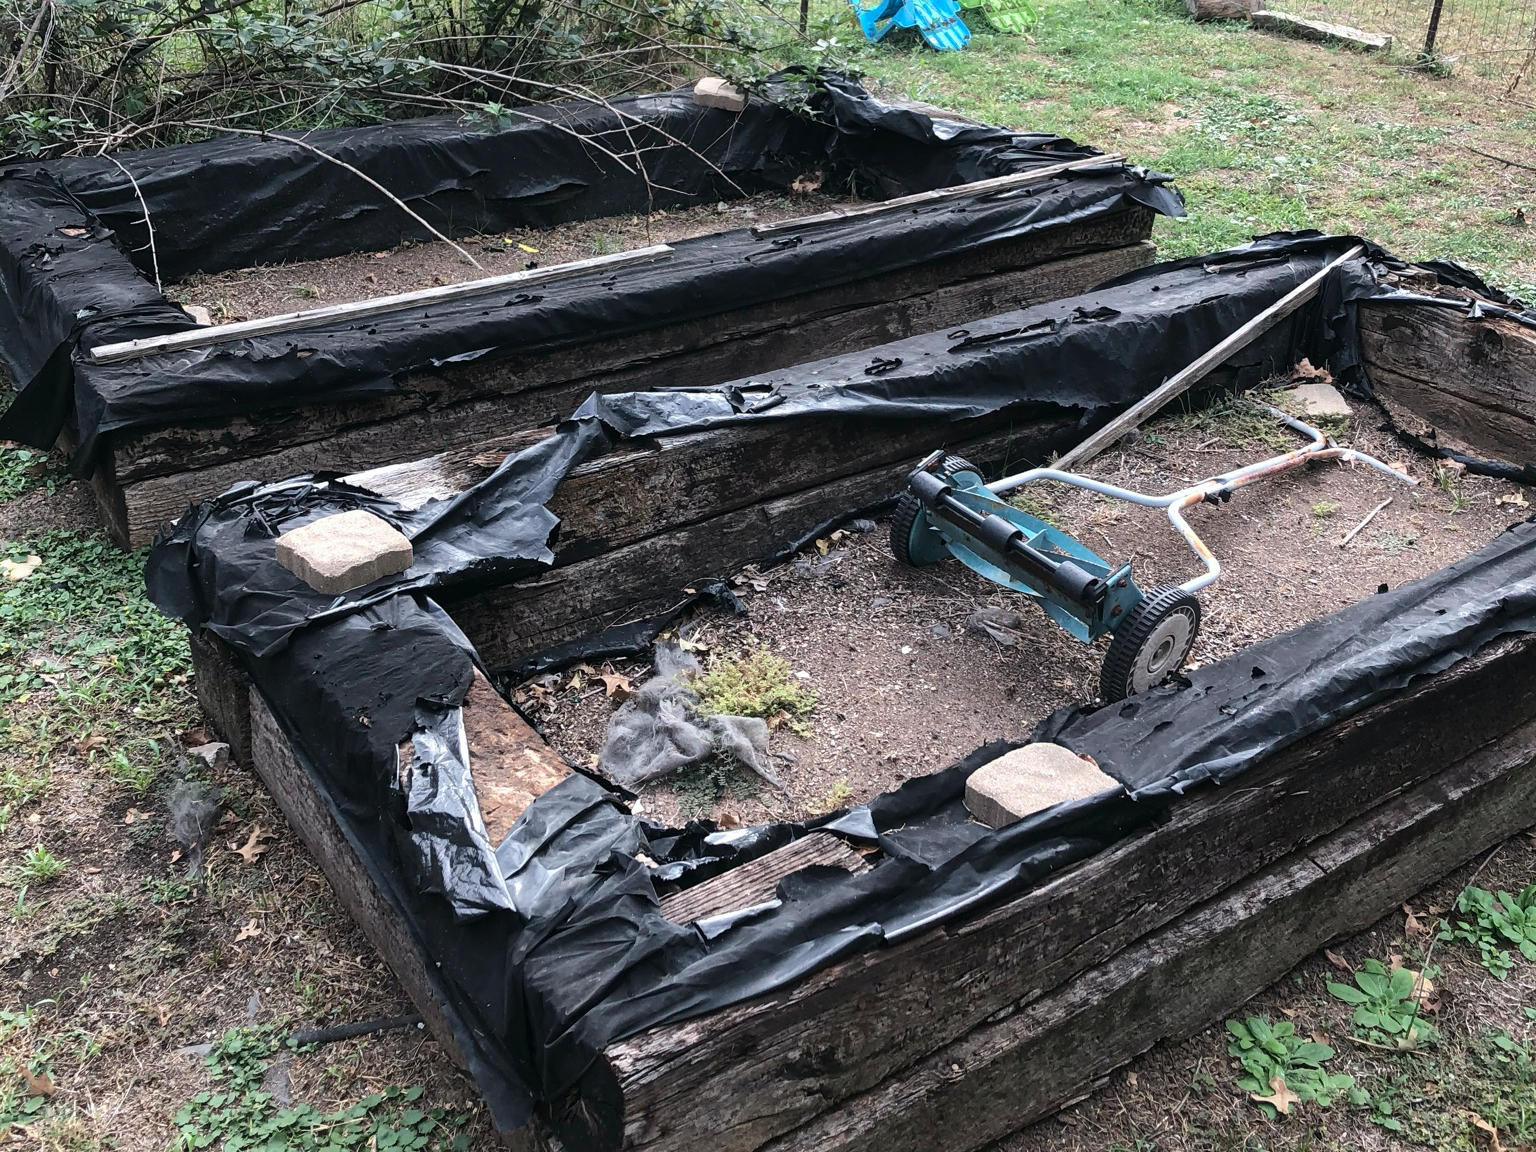
When we moved in the beds were in rough shape. It was late October, so we had to move fast to get a winter garden in place before the daylight dwindled. We consulted with a Texas Master Gardener and started building.
Before

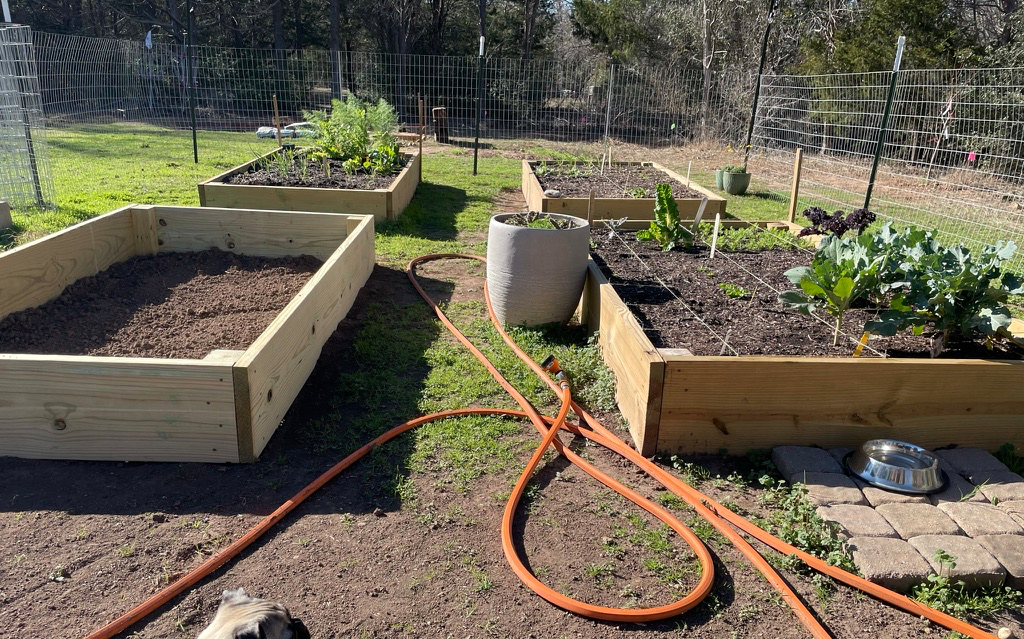
After (as of January 2021)
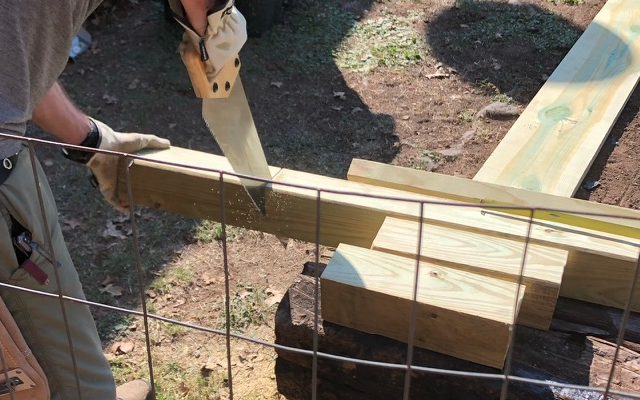
Step by Step
What you’ll need to build ONE box
- Three 2″ x 12″ x 8′ ground contact pressure treated pine (YellaWood)
- One 4″ x 4″ x 8′ wood (Note: each of these will make TWO beds)
- 10 x 3″ decking screws (~1/2 box)

Filling the Beds
There are multiple steps involved in filling the beds:
- Tilling the soil below the beds to allow for additional root growth
- Adding a mixture of soil, compost, fertilizer, and lava sand in the style of a lasagna
- Map out your plants with the help of blocks marked with twine (optional)
Till the soil using a garden fork and hoe
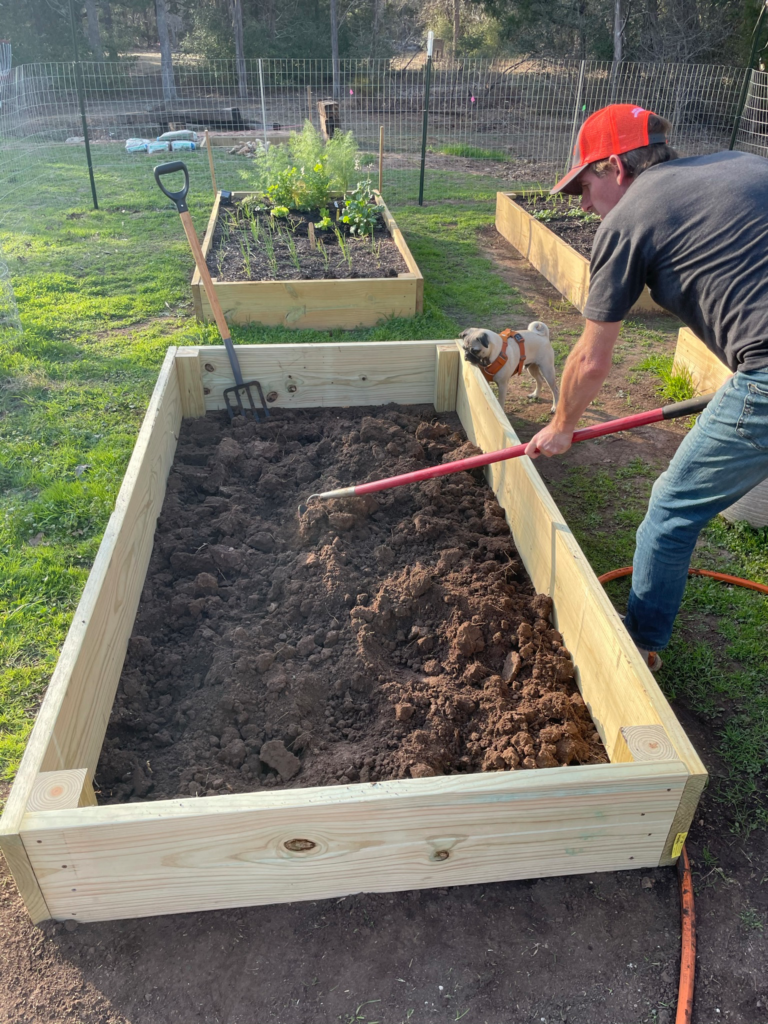
Add soil, compost, and soil amendments to fill the bed to the very top
What type of soil?
If you’re going to fill multiple beds, save some cash and back pain by buying your soil and compost by the yard. A bed takes a bit more than 1 cubic yard, so I buy 3-5 yards at a time to ensure I never run out for all of my gardening projects. Furthermore, by buying planters mix and compost at the same time, the company mixes the two for me and delivers it ready to go! This means I don’t have to hand mix the two in my wheelbarrow, too.
Typically, you want to buy something called a “planters mix” opposed to toil soil or other landscaping soils. Advice on the internet varies, with some saying a 50:50 mix is best but I opted for a 2:1 ratio (soil:compost). You can calculate the volume for custom beds using an online calculator as confirm the fertilizer amount. For these beds, you need 3.2 cups of fertilizer which is added 1 cup at a time in each “lasagna layer” of ingredients.
Cost savings: most cubic yards of soil cost about $50/yard and charge up to $100 for delivery. In contrast, 16 bags of soil + 14 bags of compost at $7/bag costs ~$300. Plus you have to lift and mix 30 heavy bags.
When it comes to fertilizer, don’t use the basic Miracle Gro found at every store. Find a local nursery and look for OMRI-approved products. Other helpful soil amendments include worm casings and mushroom compost. Be careful to avoid “hot compost” unless you have time to let it sit for a few months; or, only use it to make up 10-20% of the total soil.
Make sure you fill your bed to the very top because it will sink once watered. After this winter, I added even more soil/compost mix and yet it still sinks below the wood frame.
The “Lasagna” Method
As your plants roots grow deep into the bed, they’ll want nutrients throughout the journey. That’s why it’s best to add layers of soil/compost mixture with a cup of fertilizer and a half bag of lava sand. Mix throughout and repeat, but be careful not to disturb the lower levels as you go.
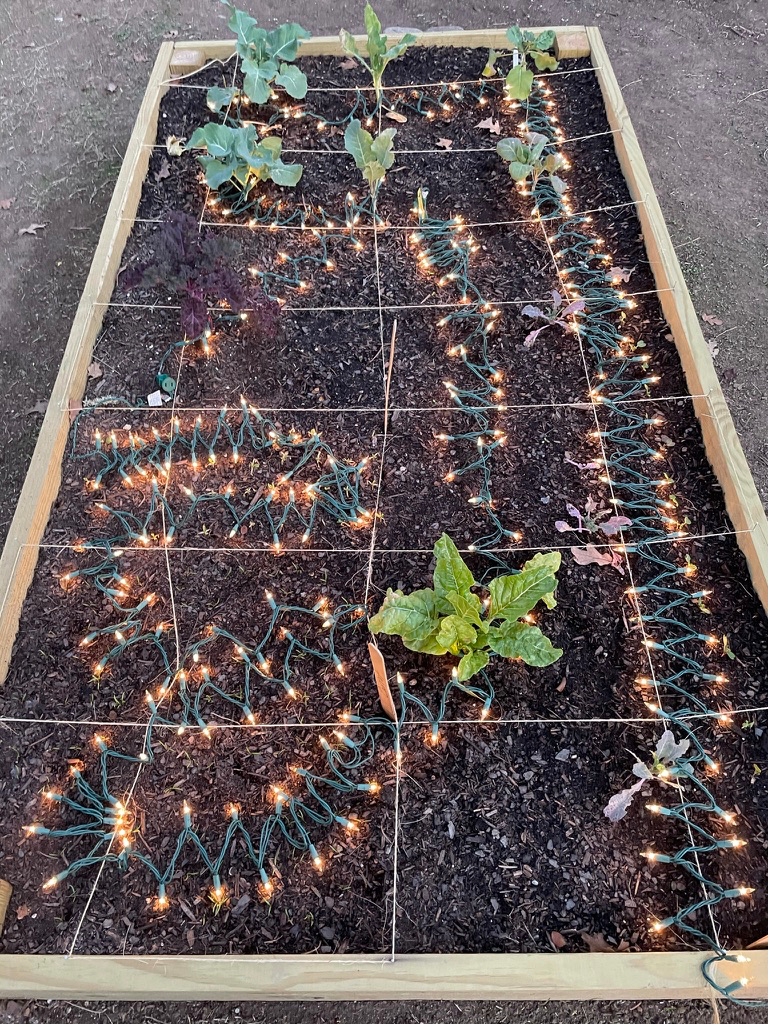
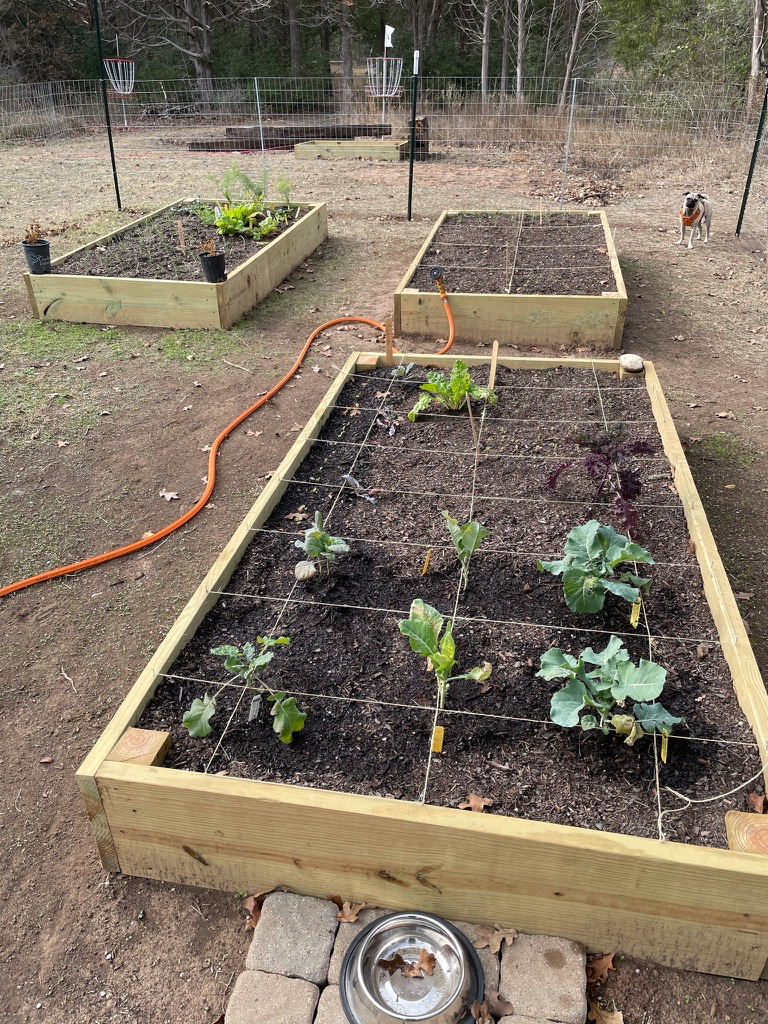
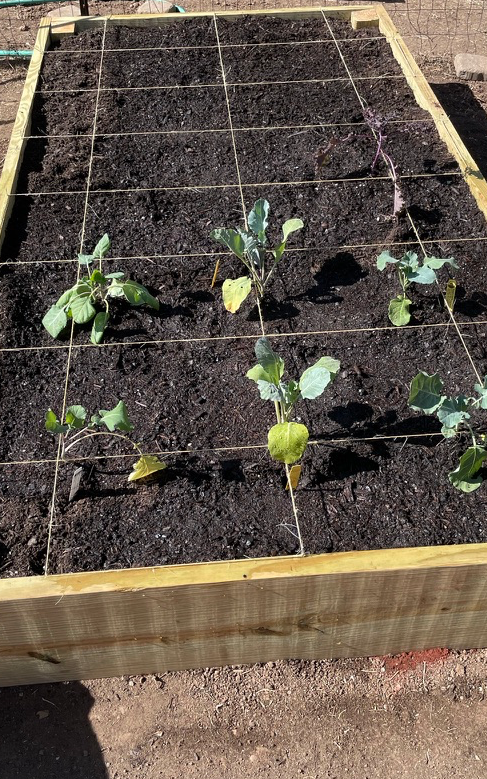
Mapping the Garden
Plants need varying amount of space so be sure to take out a pen and paper and map the most efficient way to place your plants. To make things a bit easier when starting from seed, you can make blocks using twine to keep you organized and ensure you don’t get overzealous and place large plants too close to each other (e.g., Broccoli, Squash, Tomatoes). There are a lot of tools on the internet to help with these, but at the end of the day, understanding companion planting, spacing requirements, and harvest times are the most important parts when designing your custom garden.
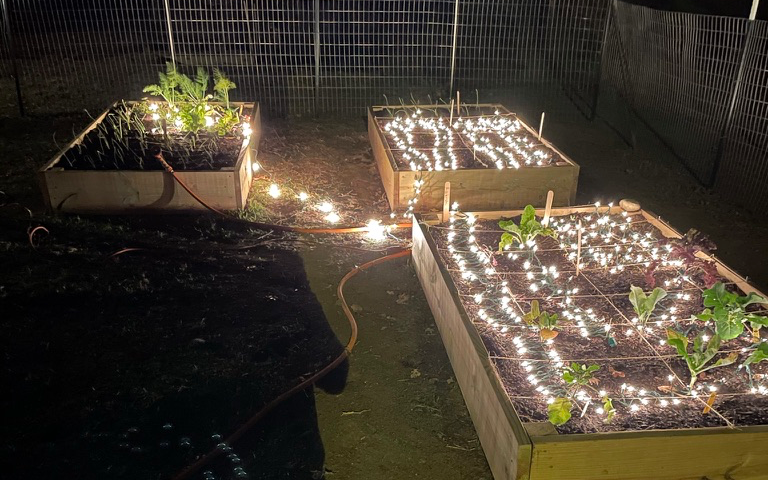
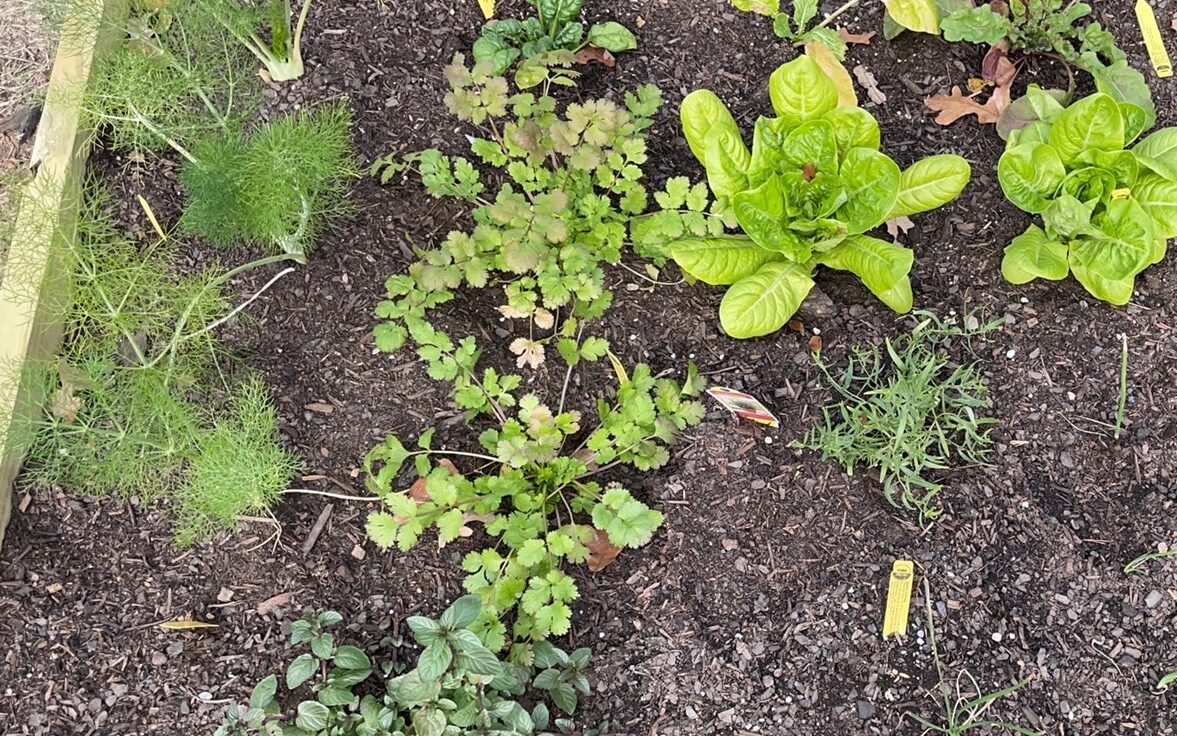
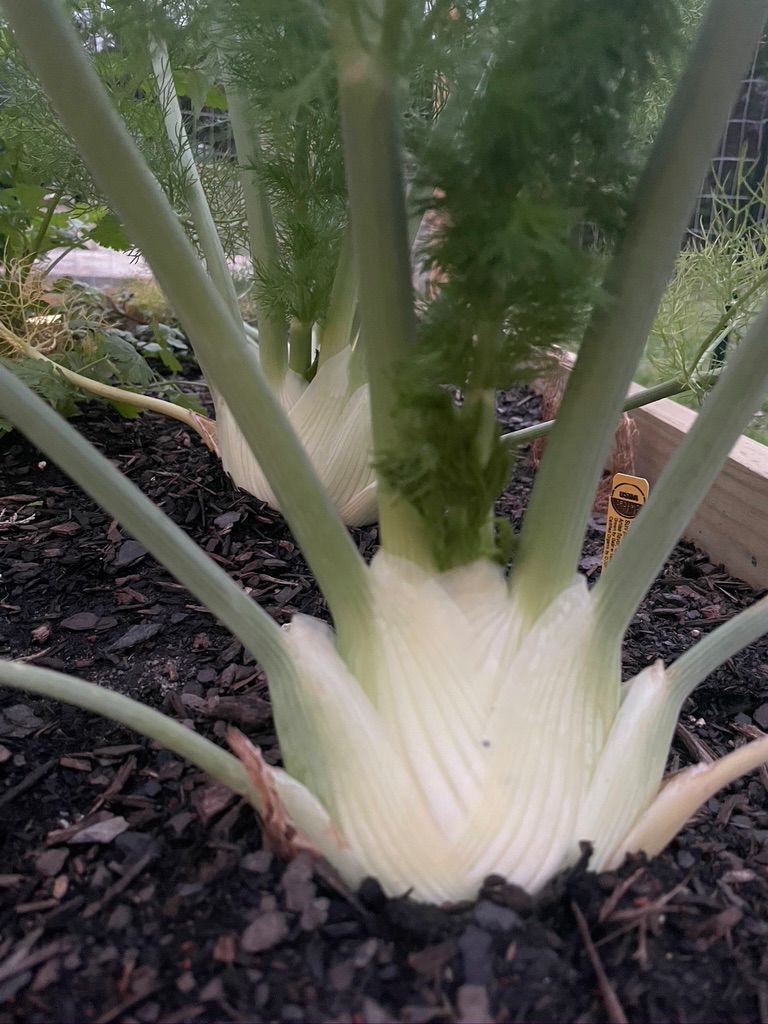
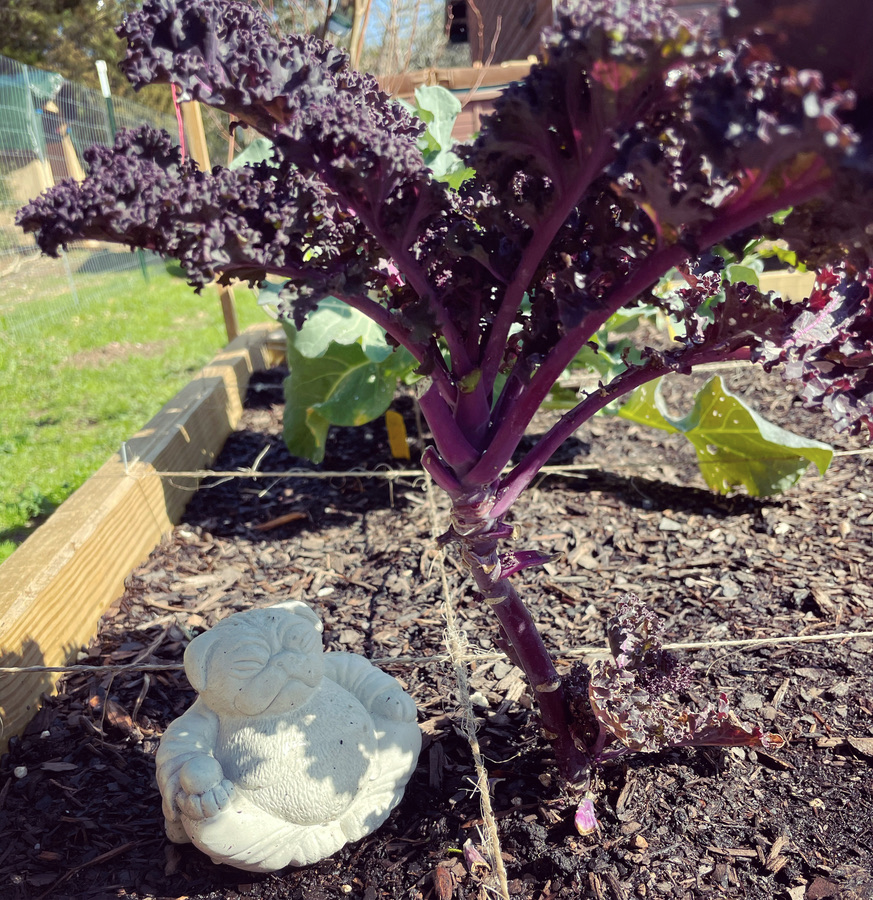
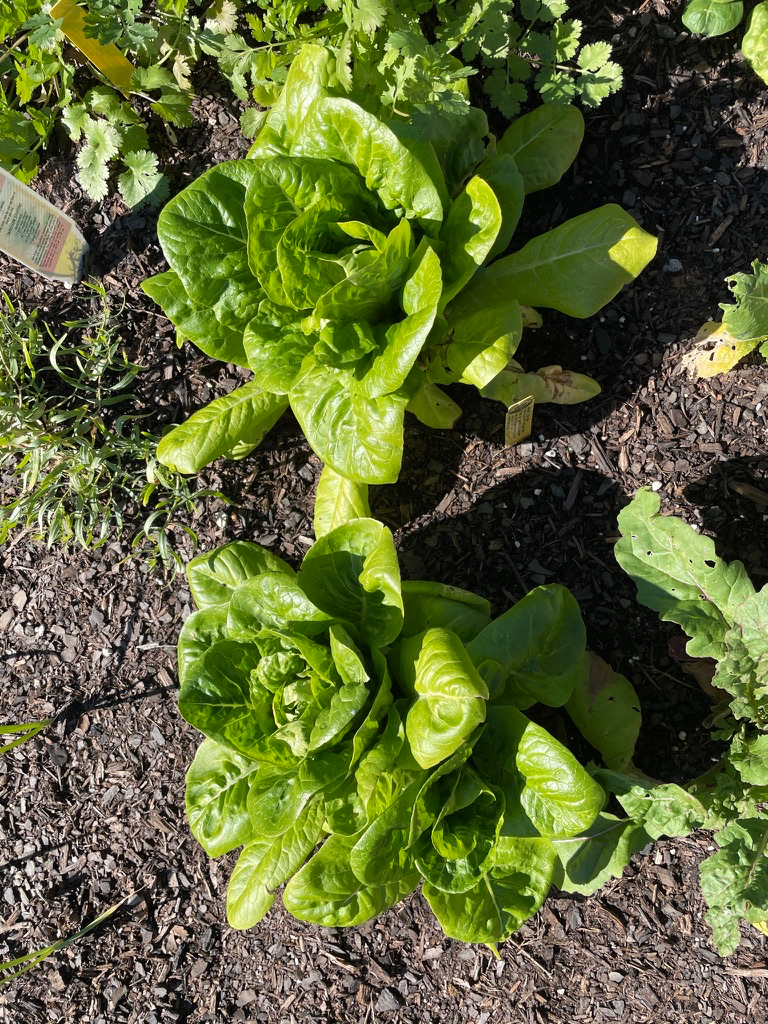
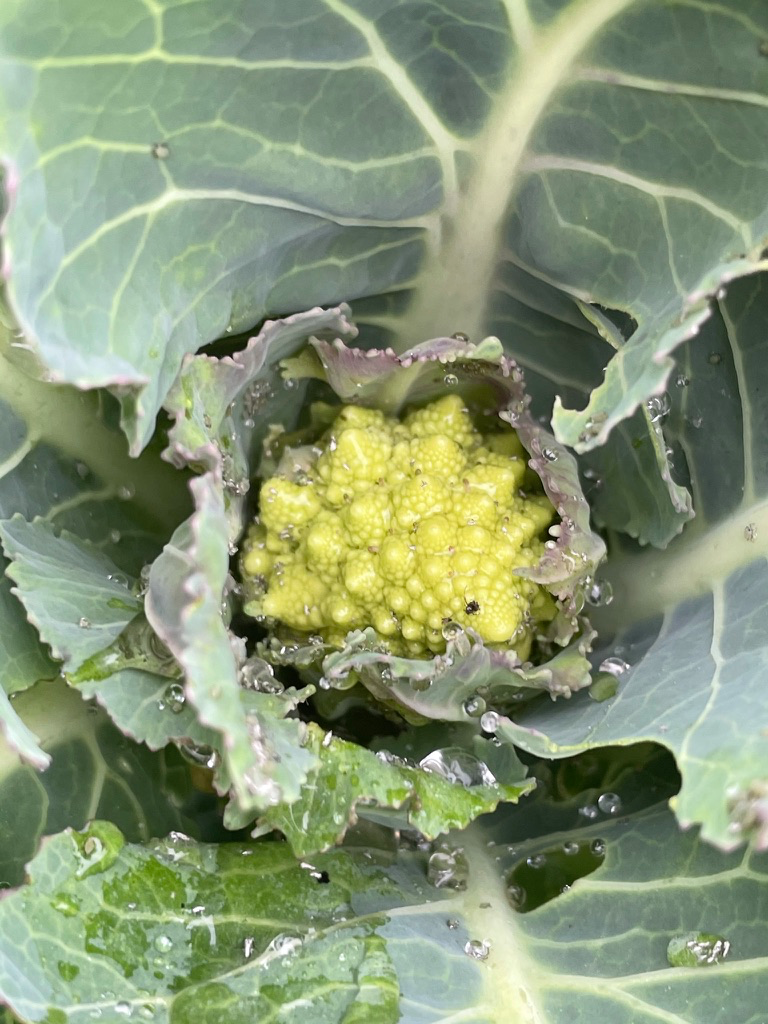
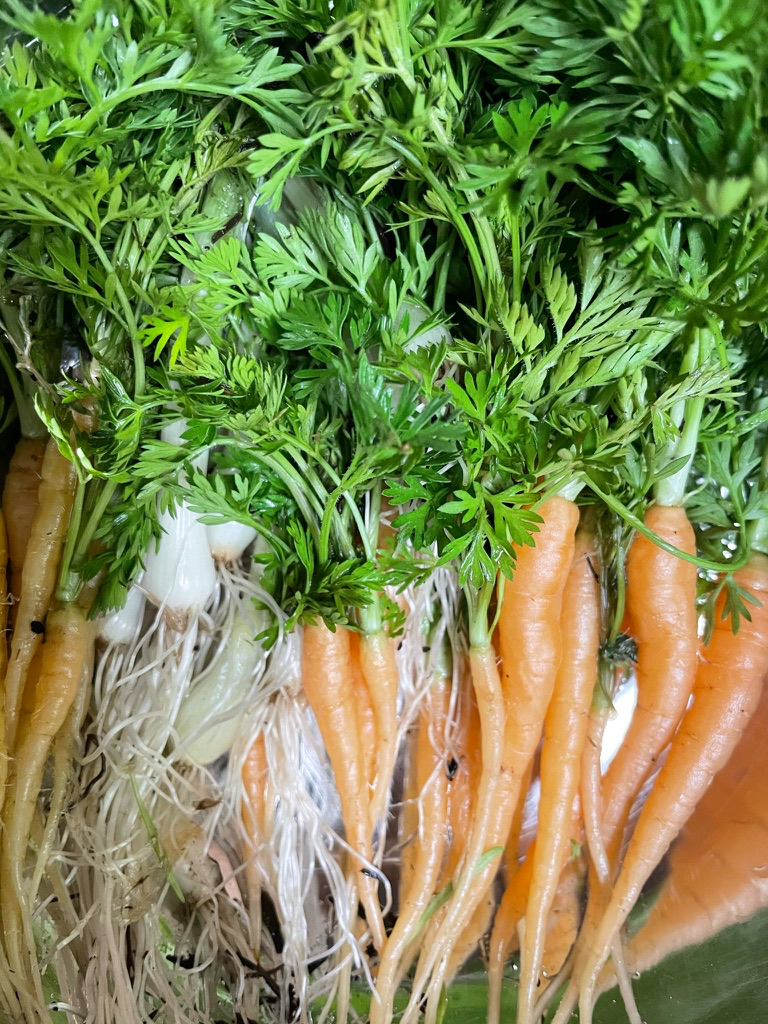
Garden Pics
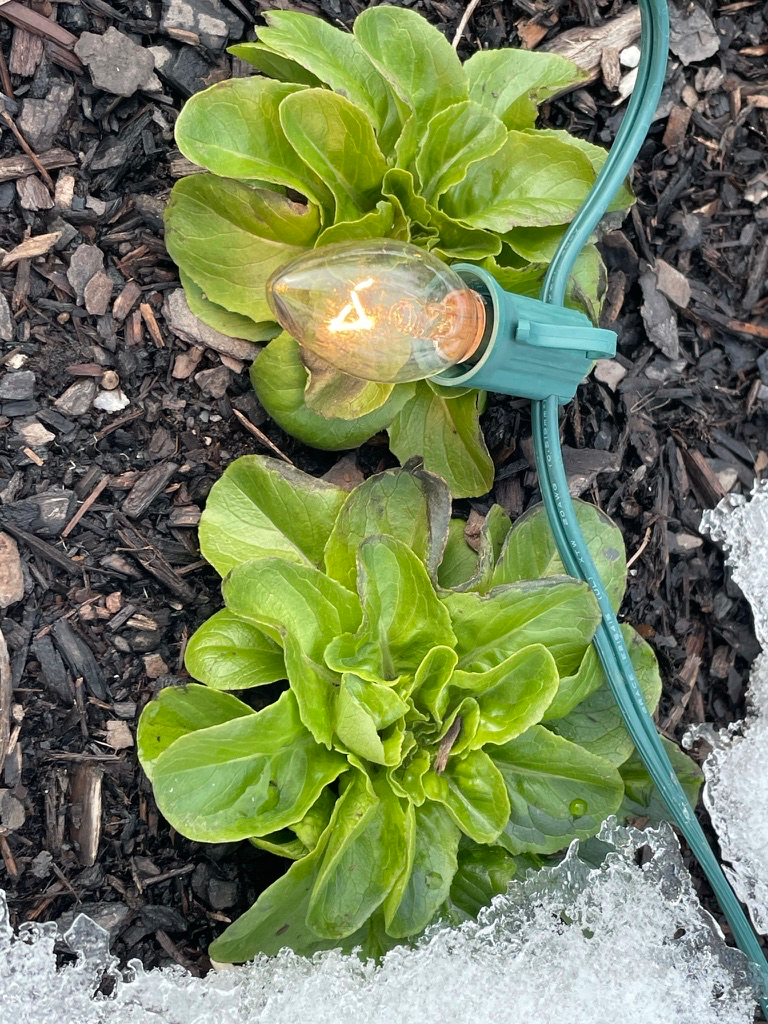
Frost Protection
Incandescent Christmas lights work wonders to keep your plants alive during frosts, snowstorms, and once-in-a-decade weeklong freezing temperatures.