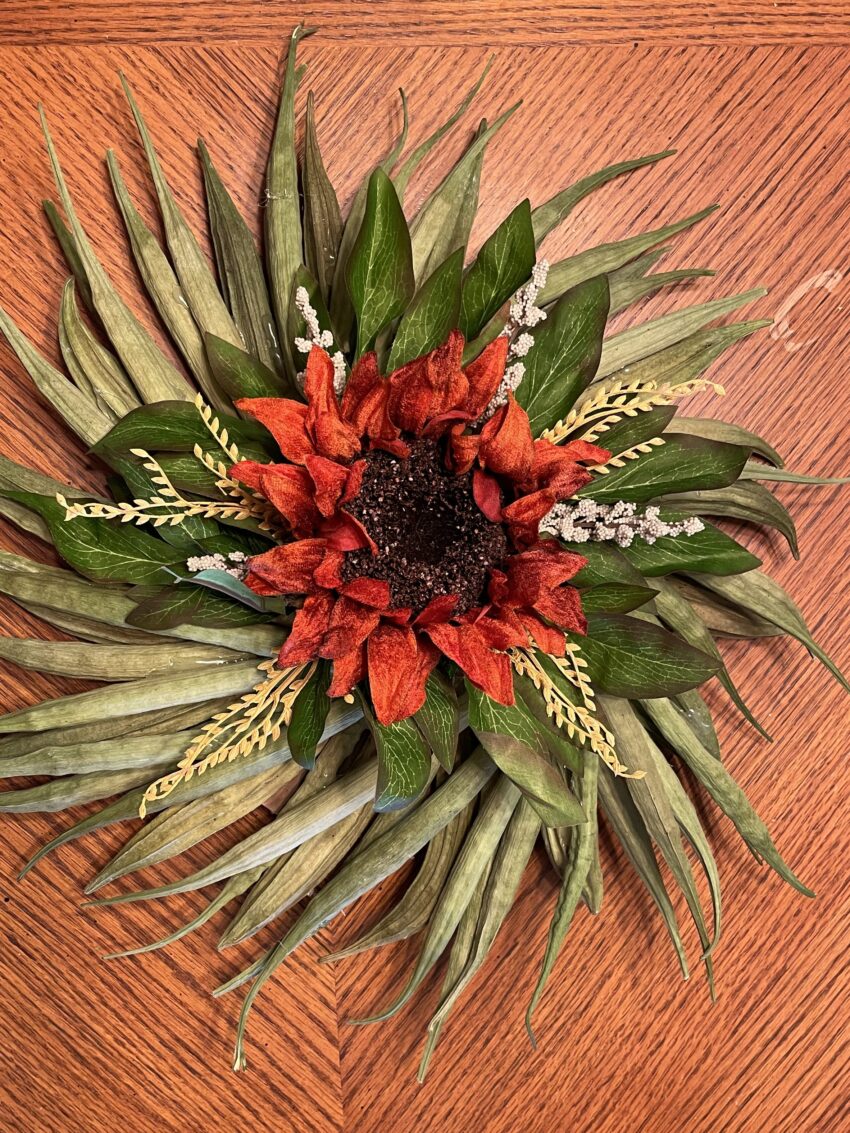
Fall is the perfect time to deck out your porch with a festive motif featuring pumpkins, a potted mum, and a bright orange wreath. But, that’s not the only approach. In my Fall wreath tutorials, I show step-by-step instructions to use seasonal harvests to decorate your door from September to November.
Okra Wreath Tutorial
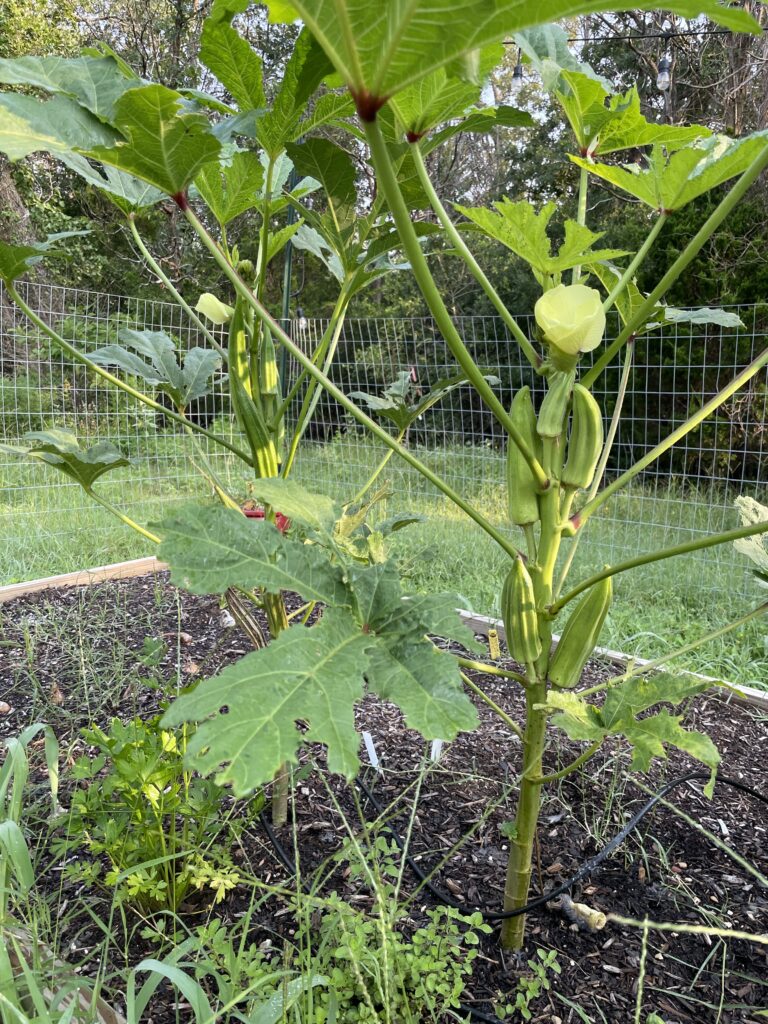
Okra grows in full force in the hot summer months across the South. I sowed five soaked seeds in my garden in May 2021, almost out of nostalgia for okra from my childhood. Two plants took off to the point they were taller than the fence posts and refused to stop putting out new growth until I chopped them down after the first freeze in late December.
It takes a lot of okra to make a wreath, so I supplemented my supply from Eden East Farm located in historic, downtown Bastrop. I used a dehydrator to preserve the okra from rotting but many online guides used an oven instead. If you are drying in batches as you collect more okra, store the okra in a sealed plastic bag and dry the okra thoroughly to prevent mold while you wait.
When harvesting okra, you’ll need a variety of lengths with long okra on the back layer and shorter okra in the front. Okra gets tougher with length and pods are considered too tough after roughly the length of your pointer finger. As such, stores typically only sell short pods, roughly 3-4″ in length. If you aren’t harvesting your own, you’ll be better off asking a local producer if they can sell you some that they typically would discard.
Materials Required
- Several pounds of okra, sorted by length and curve
- Hot glue gun and sticks
- A ~9″ diameter circular piece of cardboard with a hole inside like a donut
- Circular guides to ensure you’re placing okra in a symmetrical pattern
- One artificial sunflower
- Leaves and filler from an artififical bouquet
Instruction
First, use a guide to cut a circle in cardboard about 9″ across. To make your first layer, position your longest okra in a circle spacing them equally. If you have some curved pods, position them in the same direction at 12, 3, 6, and 9 on the clock and fill in from there. Clip any stems short if they stick into the middle. Once positioned, hot glue them to the cardboard.
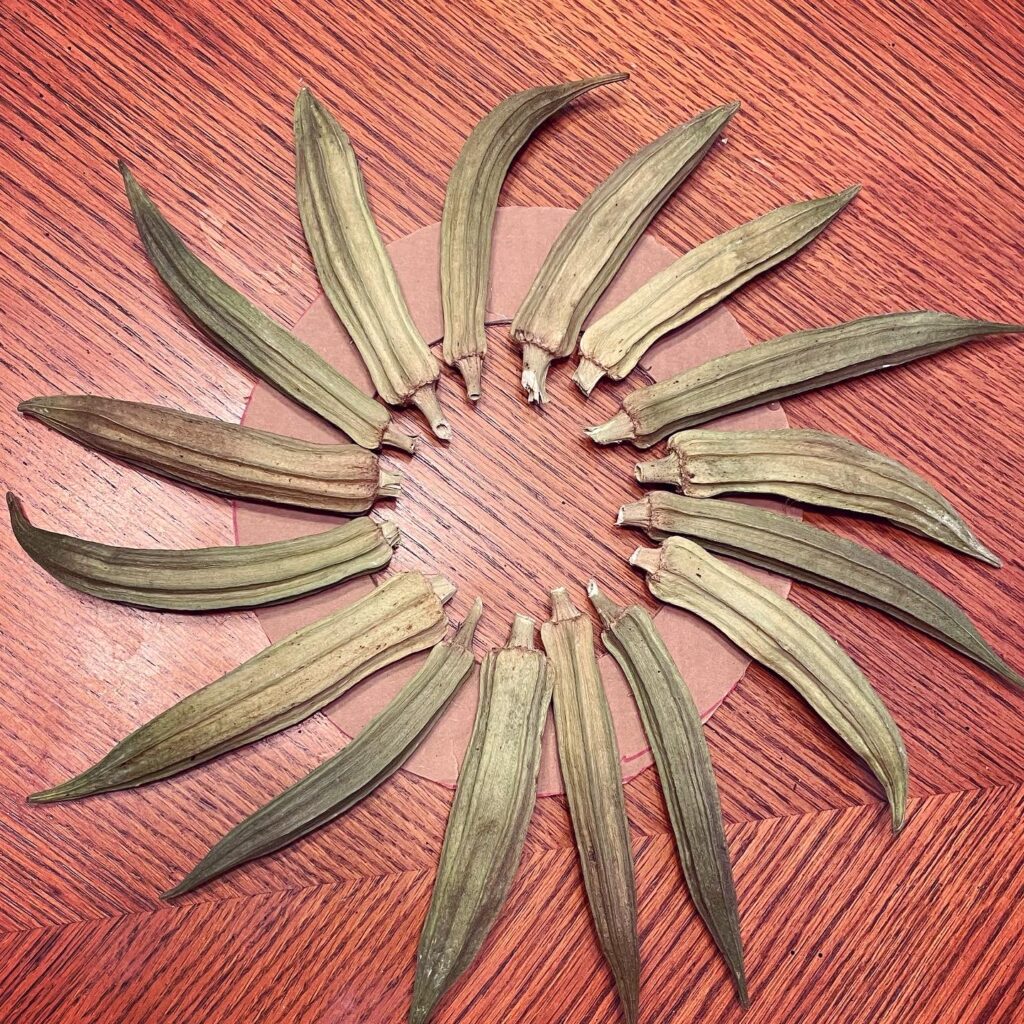
Place whatever circular guide you found around the house to line up with the outer points and place a shot glass in the middle of that guide (NOT the middle of your cardboard) to help you as you glue on additional layers.
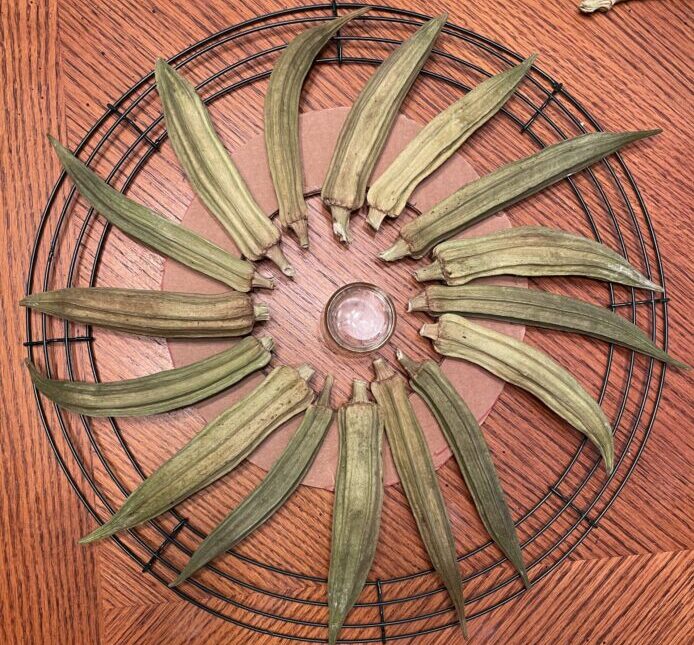
As I continued to add longer okra in the gaps, a cheap cutting board protected my table. You can see it didn’t come together quickly and you have to trust in symmetry as you intiate the layers.

After your first full layer along the base, start gluing the top layer at more of an angle to create a swirl effect. You’ll be placing a big flower in the center, so focus on symmetry along the outside rim instead of the center, which will be blocked from view.

Once you’re happy with your layers, position your artificial leaves, deco, and sunflower. Wrap a fishing line around to find a groove that will hang the wreath in a direction you like. Hot glue and you’re ready to hang.
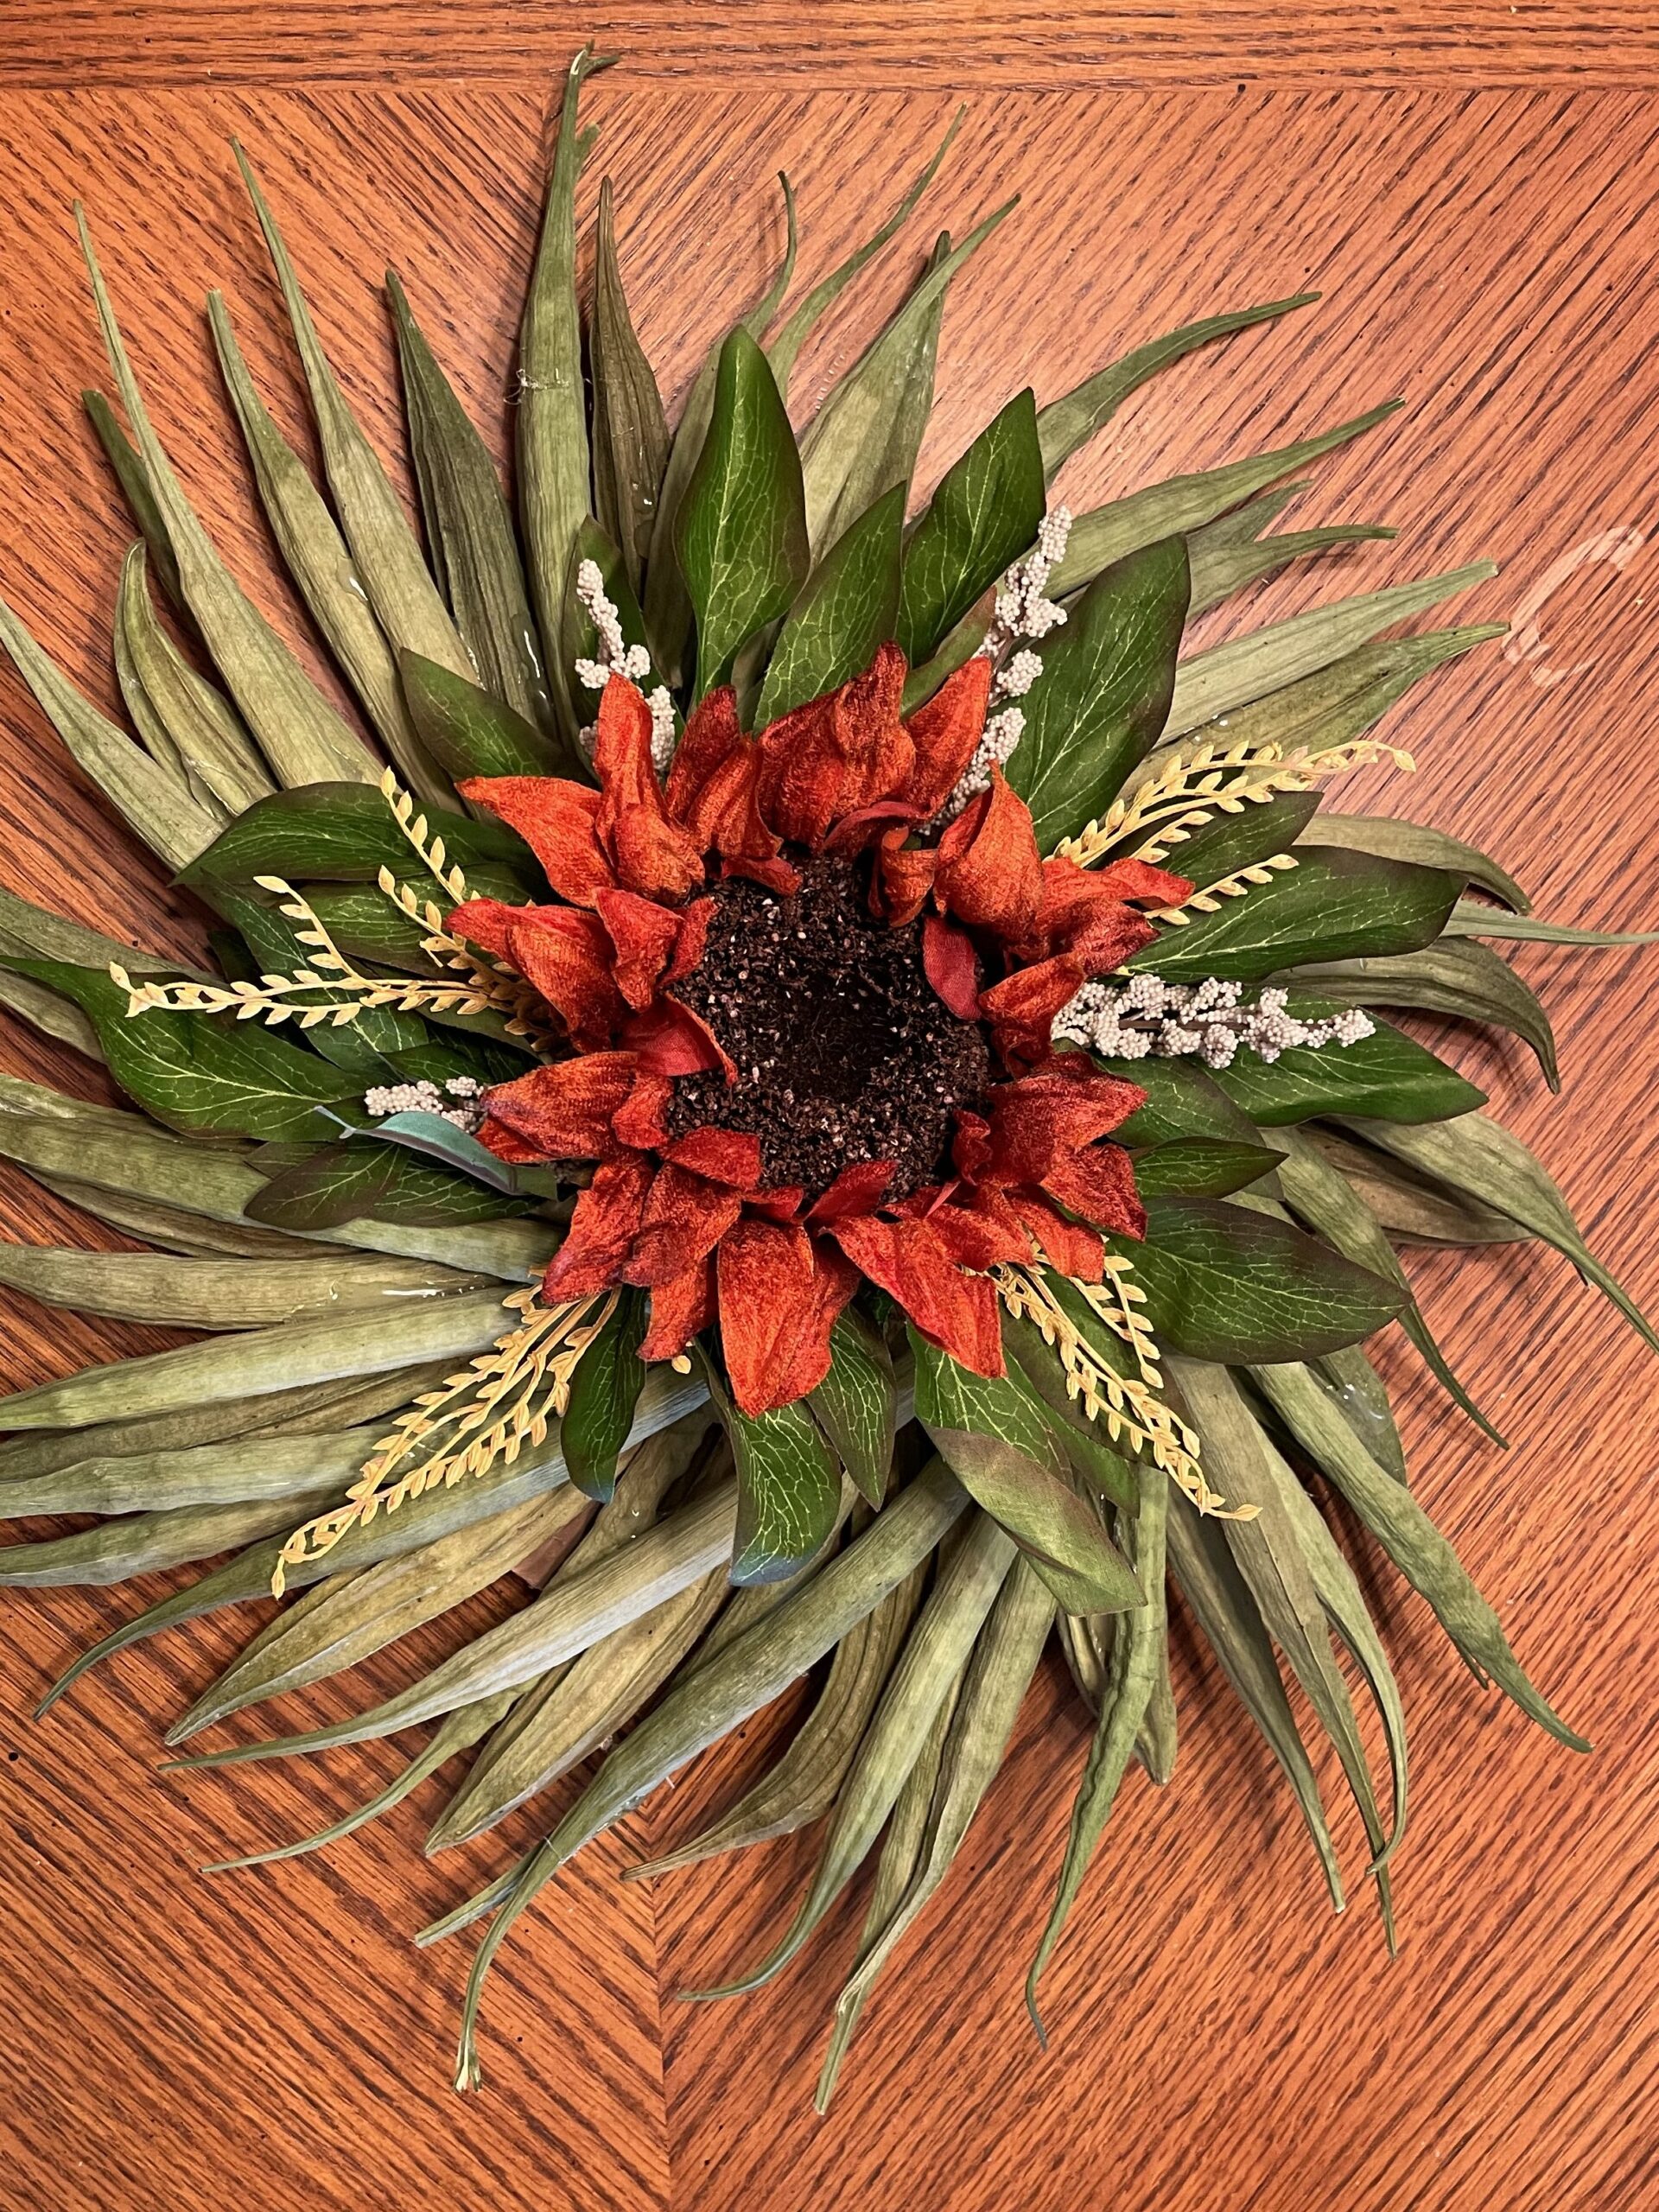
I paired it with a minimalist autumn wreath to maximize Fall vibes!

